Using the Installer
Win-FOR GUI
Windows Forensics (Win-FOR) Customizer
The design behind this is to use a barebones Windows 10 VM or a Windows machine (preferably 1909 and higher to support WSLv2). Once configured, and activated (to support customization features), then you can use one of the installers to install all of the packages.
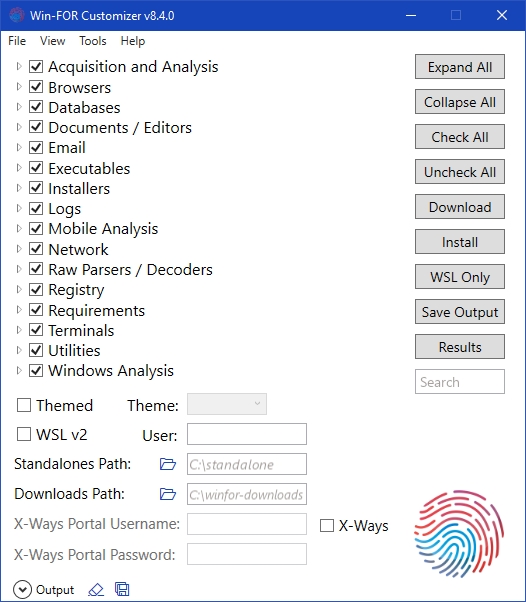
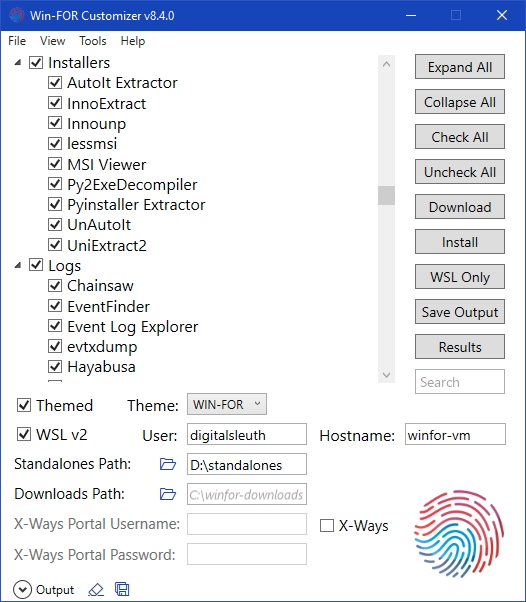
The installer is a graphical interface to click and choose which items you want, and to enter the settings you need
Check out the Releases section for the most up-to-date installers.
Win-FOR Customizer
FIRST OFF - Requires .NET 6.0 Desktop Runtime If you do not have it, you will be prompted to install at execution
Why a GUI? Who doesn't like a good GUI!? Not everyone enjoys Windows command line or PowerShell, especially when just starting out in Digital Forensics. This makes it much easier to get your environment set up without having to worry about CMD or PS!
The customizer tool gives you the following features:
Point and click to choose which tools you want installed in your distro (instead of just choosing them all)
Checkboxes to choose if you want the WSLv2 with SIFT and REMnux installed during the process, or click
WSL Onlyto install it at a later dateSave your current selections in a custom SaltStack State file for your own purposes or record
Identify the current version of the Win-FOR environment with a single click
Check for updates to the Customizer
Graphically enter any settings you need!


PowerShell or CLI
The PowerShell script and standalone CLI executable have been deprecated in favour of the Win-FOR Customizer. However, if there is need for a command-line version of the Customizer, it can be done. Until such time, the Customizer is your best choice!
Issues
All issues should be raised here
Last updated